Postman Guide [Simple]
Introduction
This Postman guide should help you grasp the fundamental flow of how an app obtains credentials to access user data.
The point here is to lay out the simple steps required to create and install an app. The flow can then be replicated in the programming language of your choice!
Creating the App
If you don't have a Noona account, go over to Noona HQ and register/create a company.
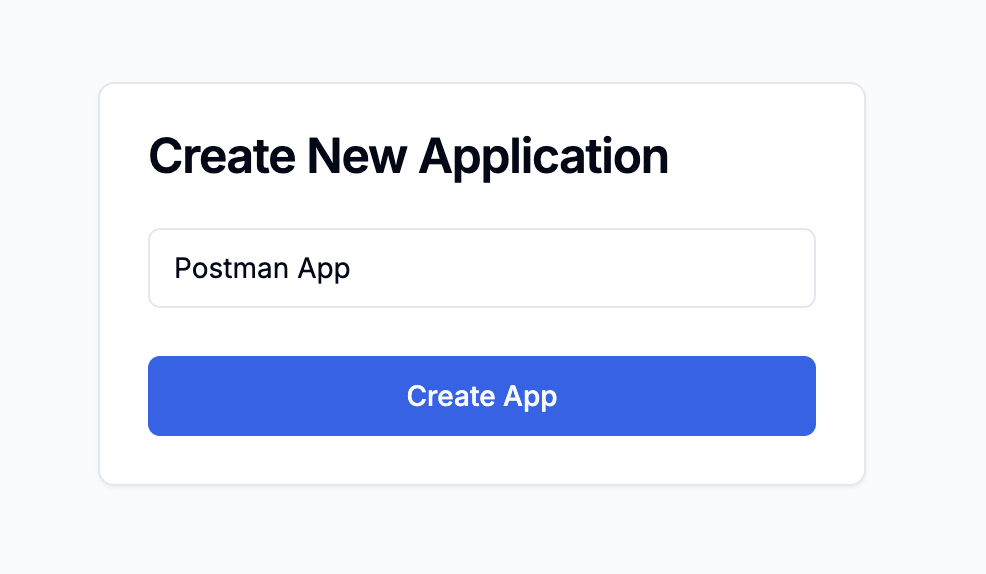
Log into our Developer Platform and create a new app.
Create the app
Fill in app metadata
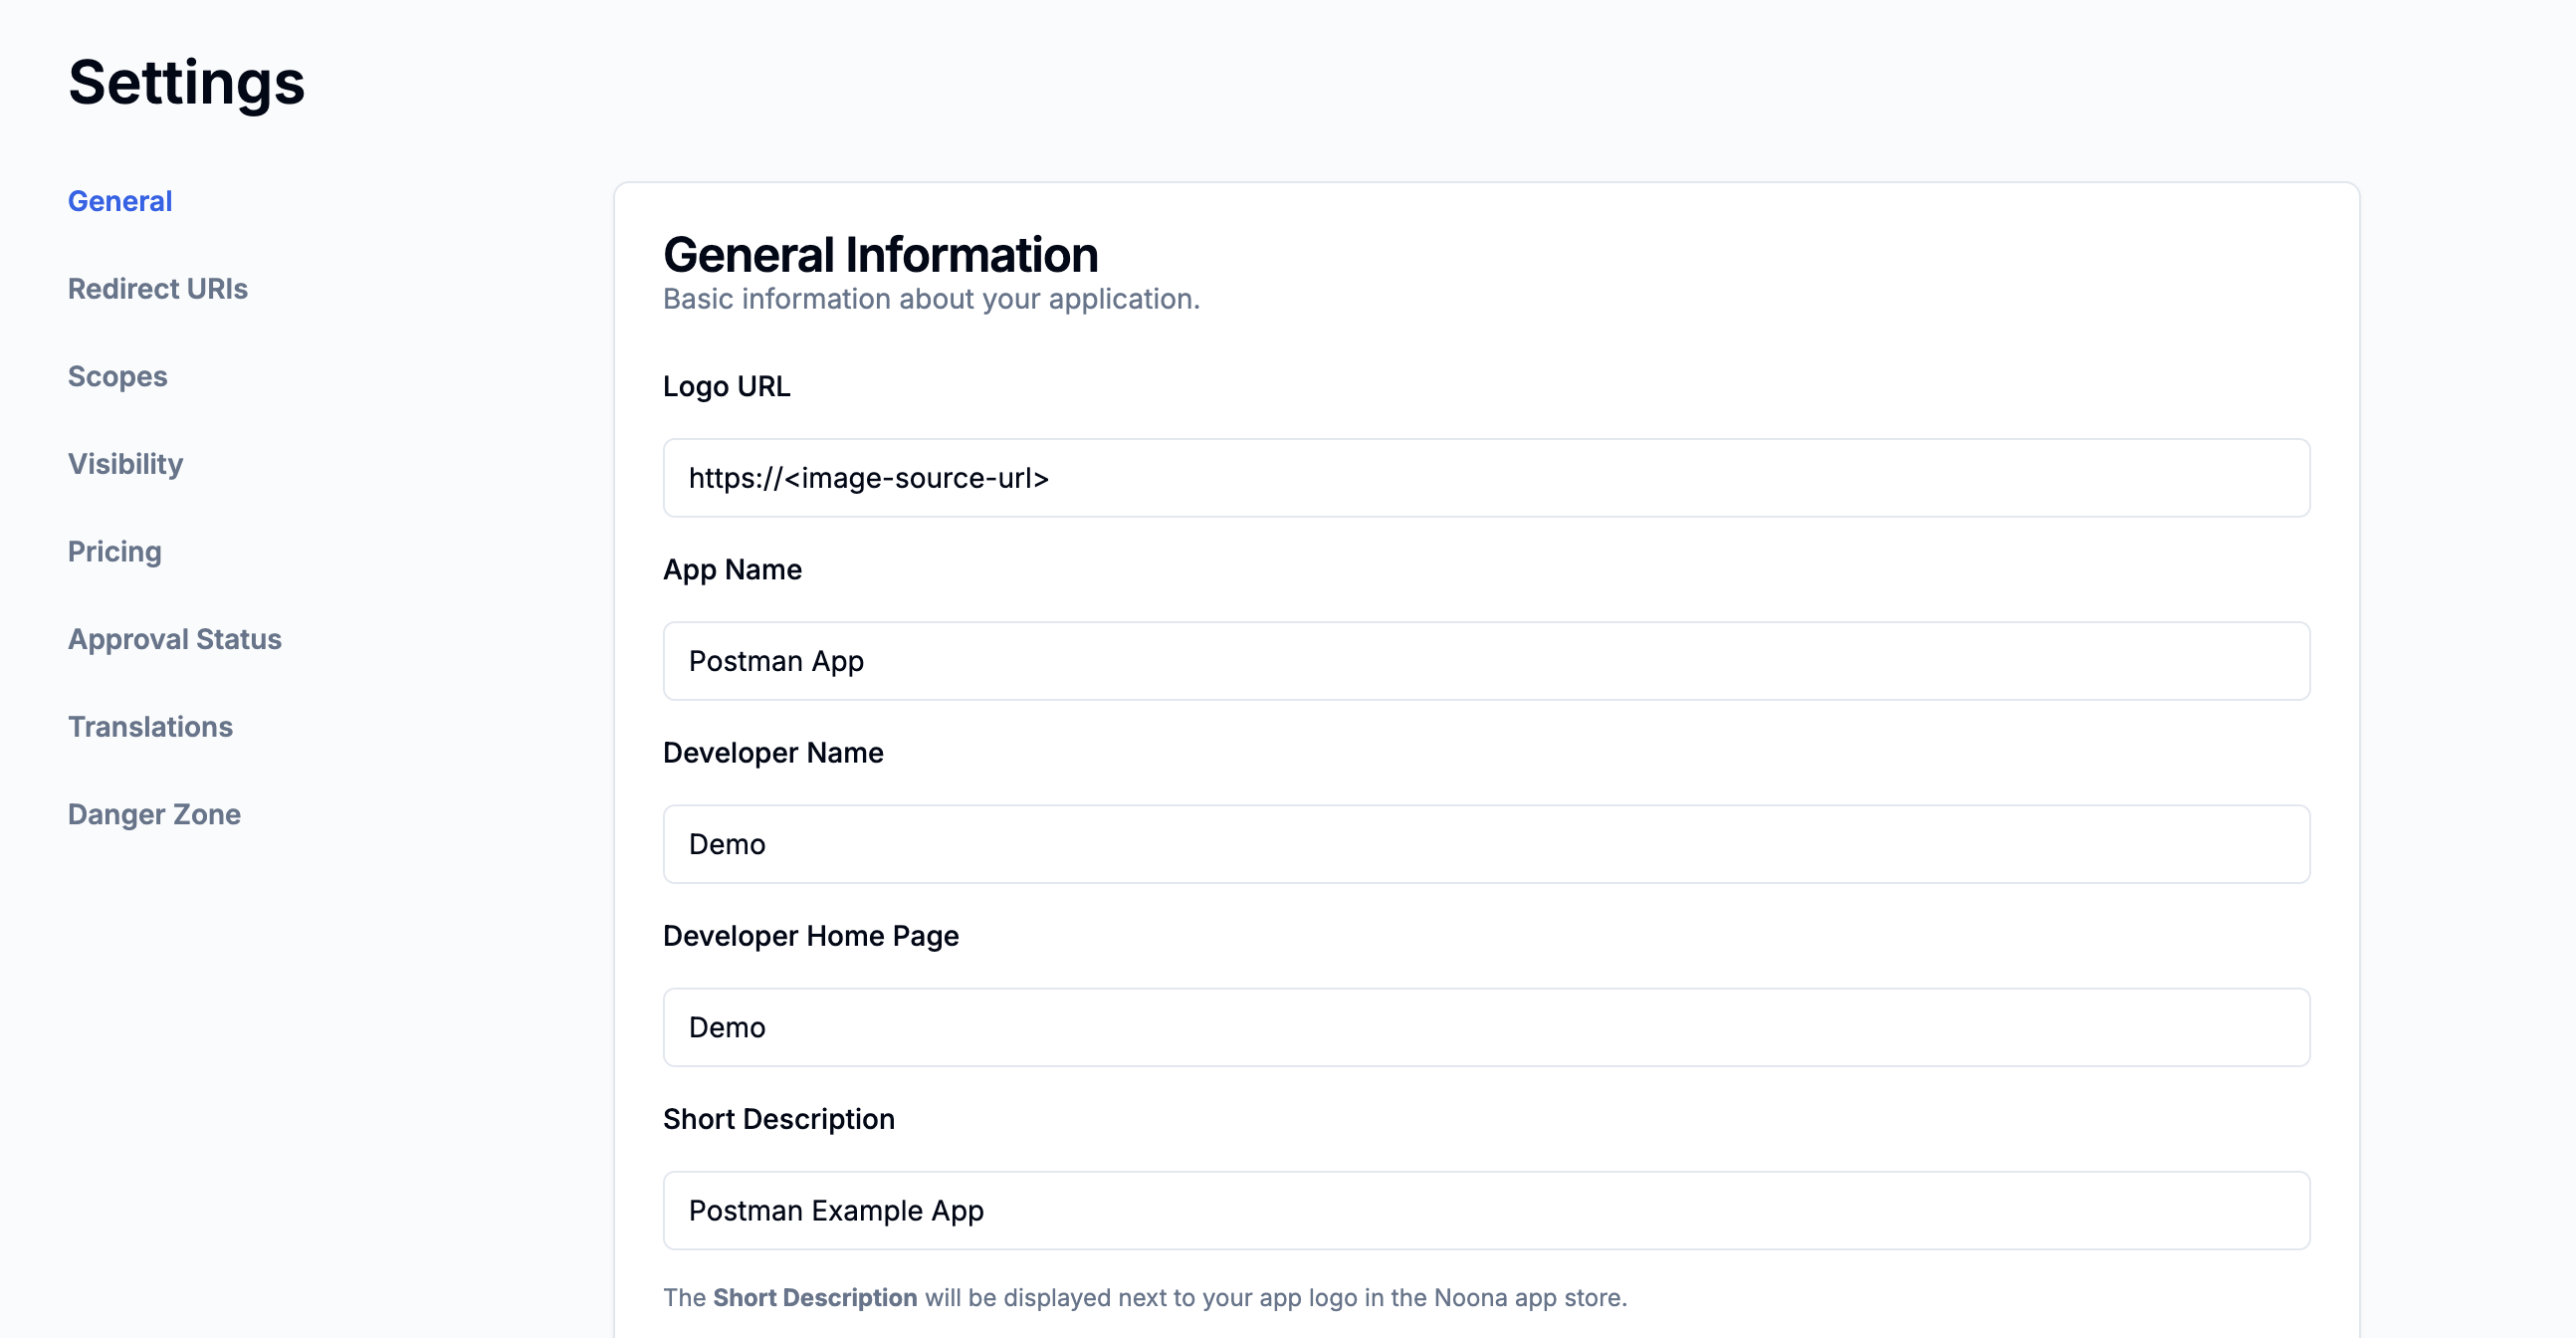
...remember to click Save.
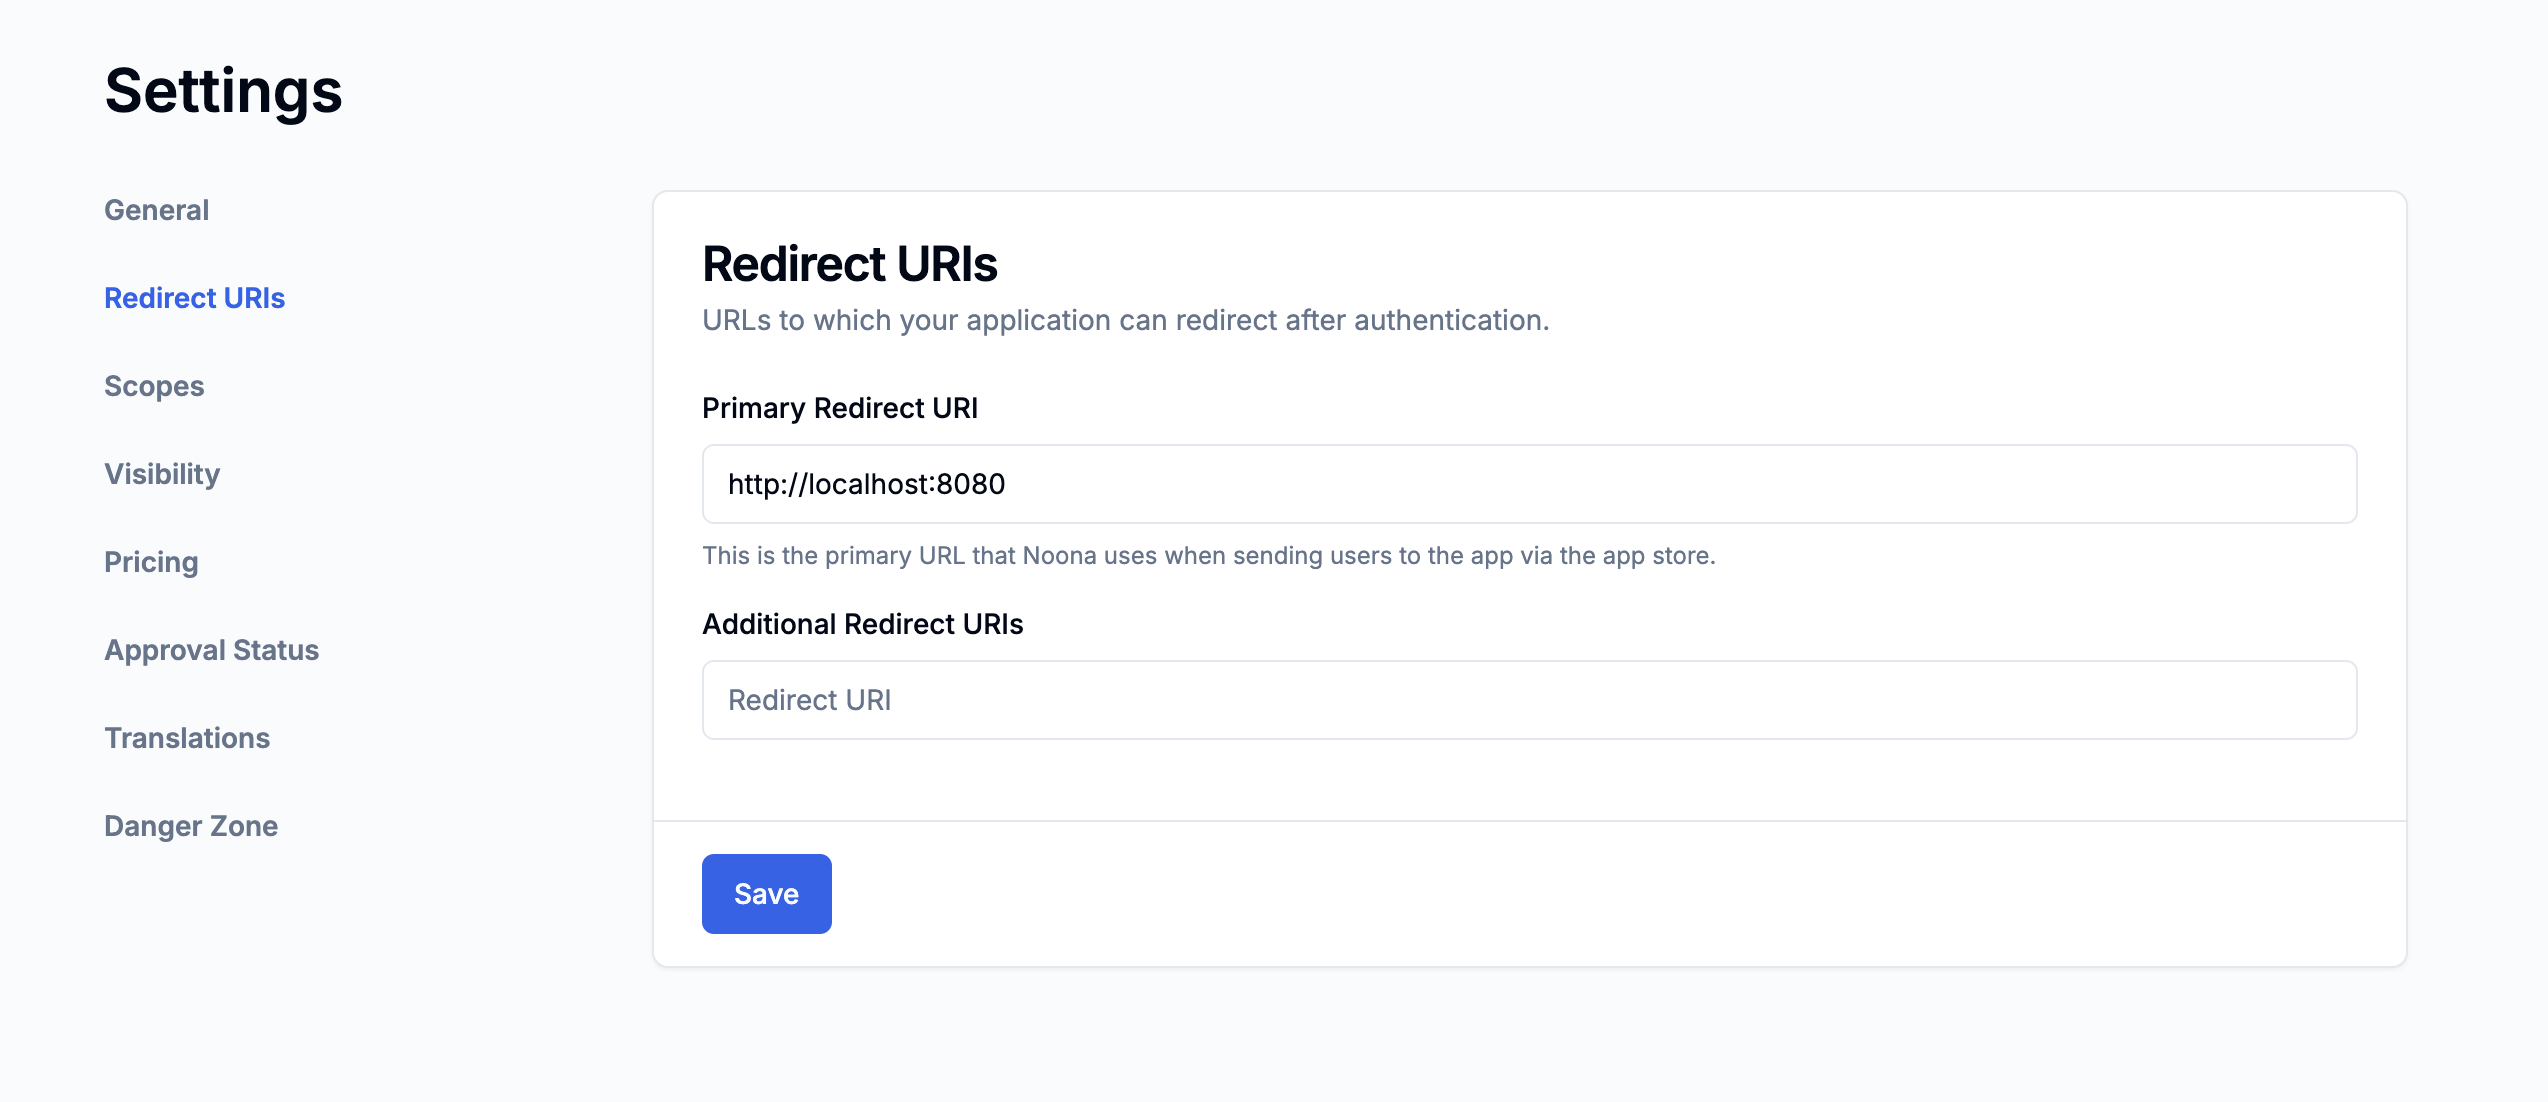
Set redirect URI
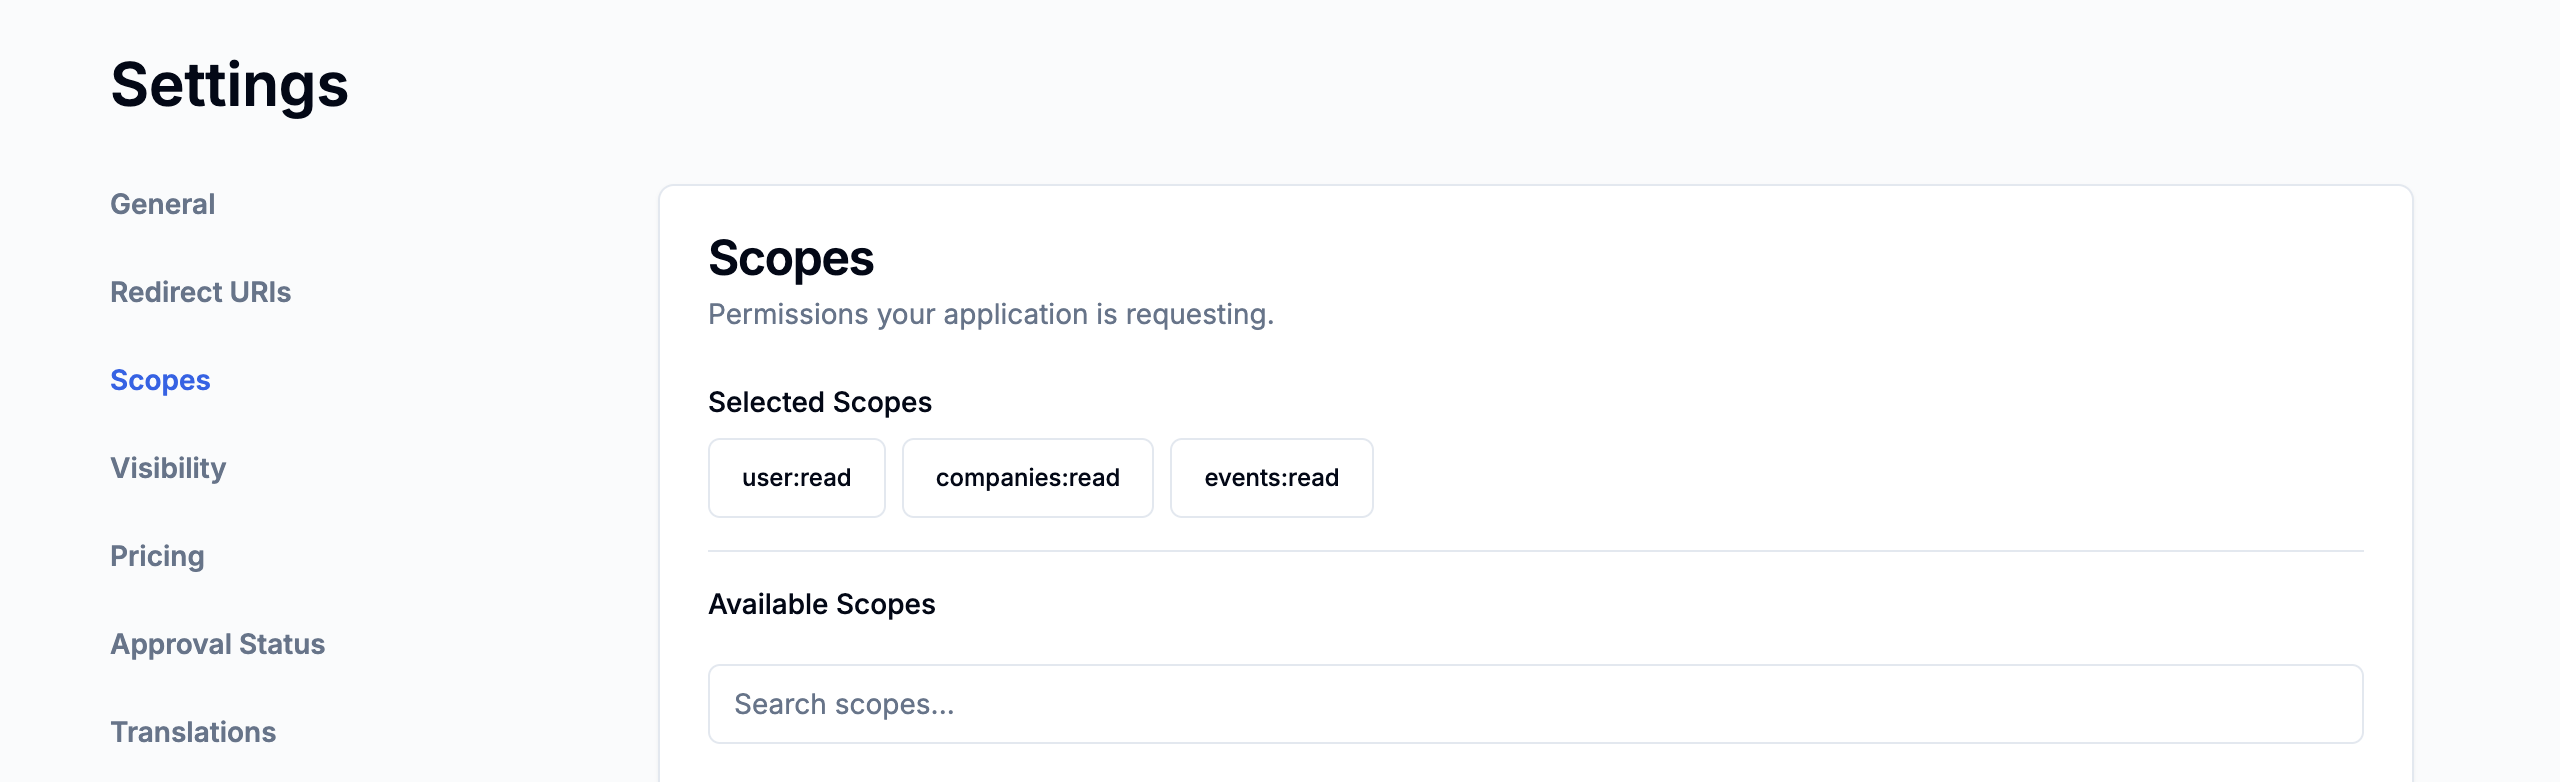
Add desired scopes
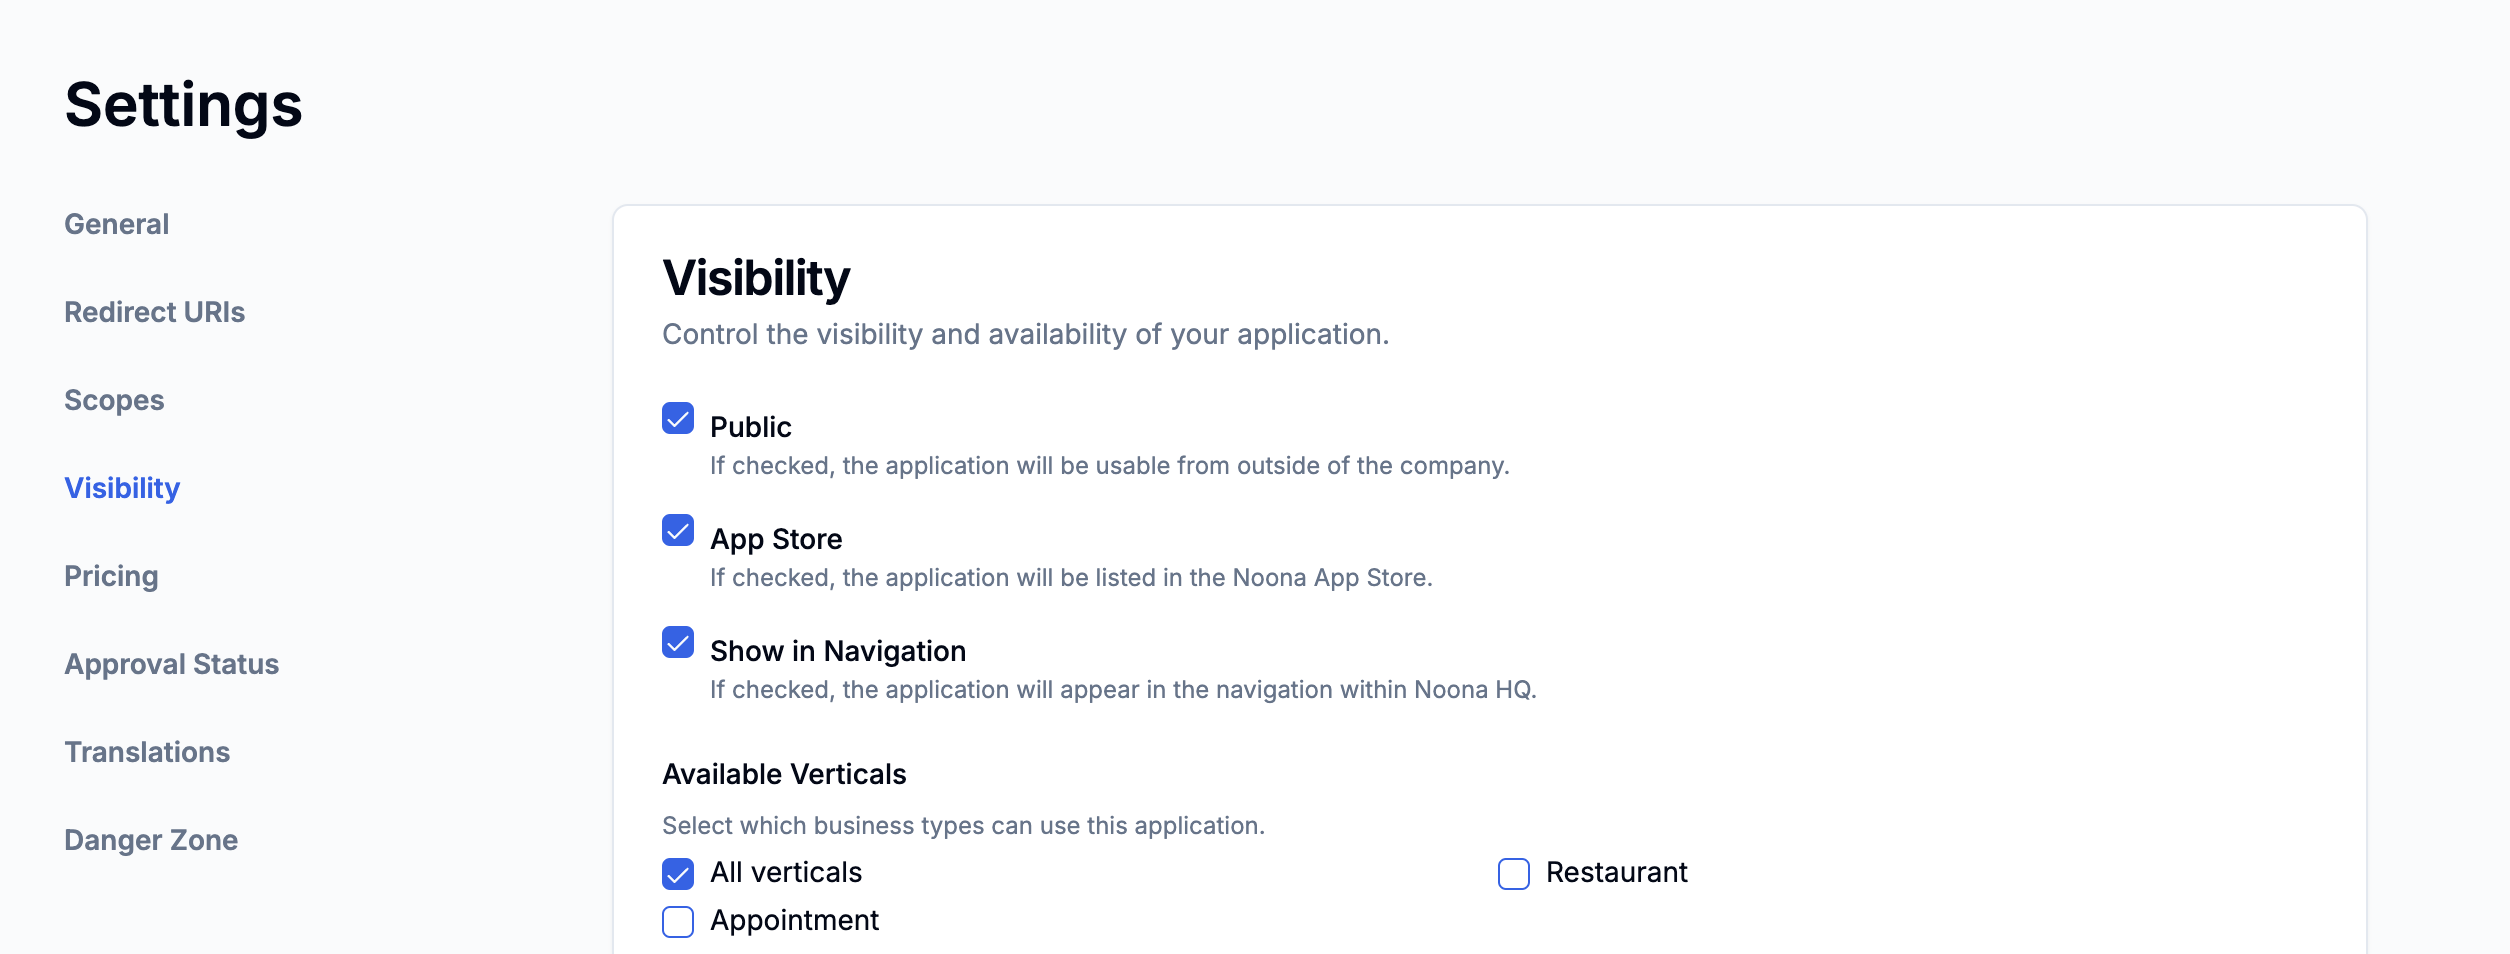
Configure visibility
Scopes
These are the resources we will be able to interact with when a user installs the app.
Redirect URI
This is the endpoint that Noona will send the user to when he clicks 'Approve' on the consent screen.
Public
When an app is marked as public - other companies will be able to install it. If this check is omitted the app will only be available within the company that created it.
App store
An app can be public without being visible in the app store. The use case is an external system that has some integration with Noona but is not interested in the app being shown in the app store.
Show in navigation
Apps created with this option enabled will be rendered via an iFrame inside of the main navigation in Noona HQ.
Installing the App
Now that we've created an app let's install it!
Go to the app list in Settings Hub.
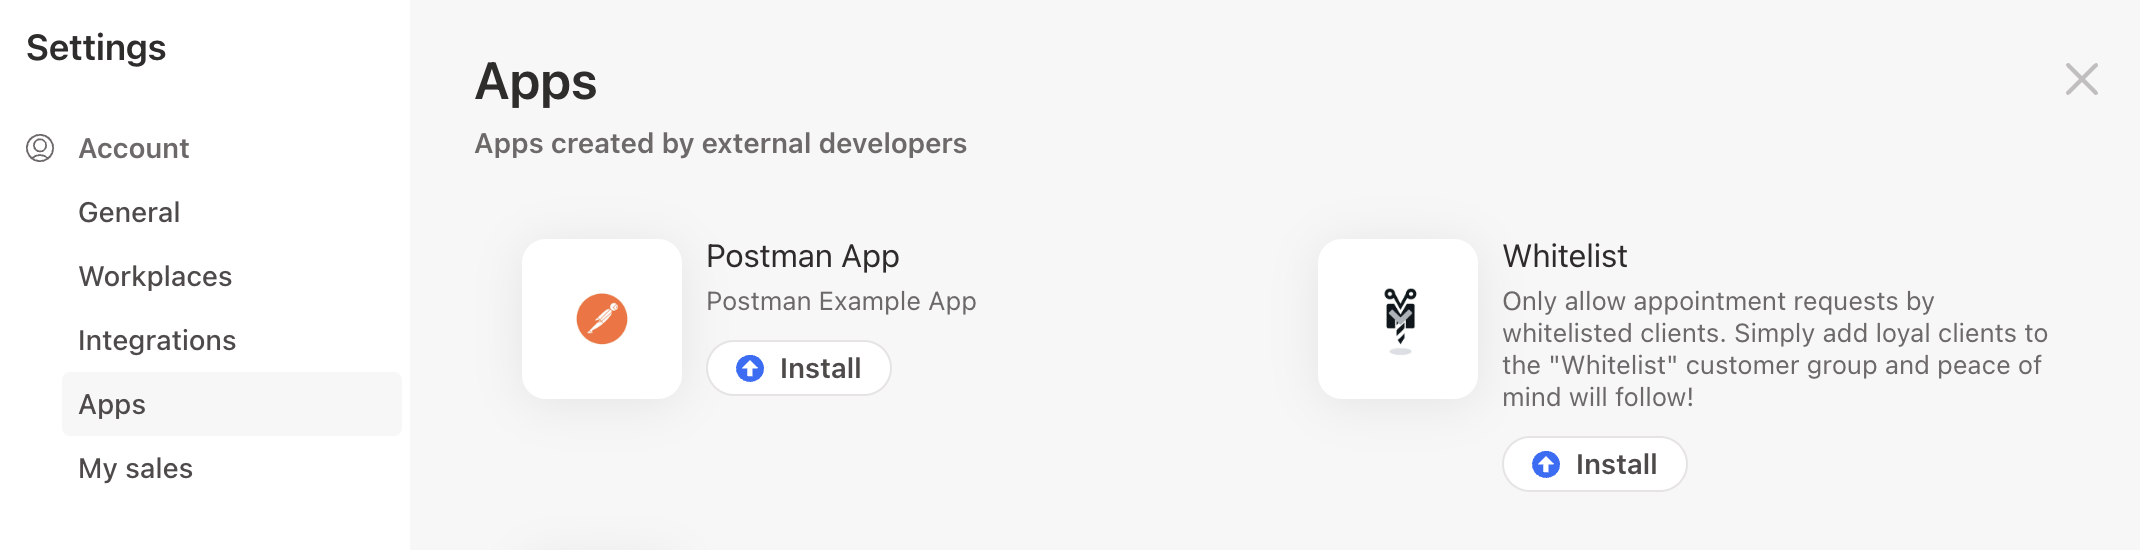
Click Install and we see the consent screen.
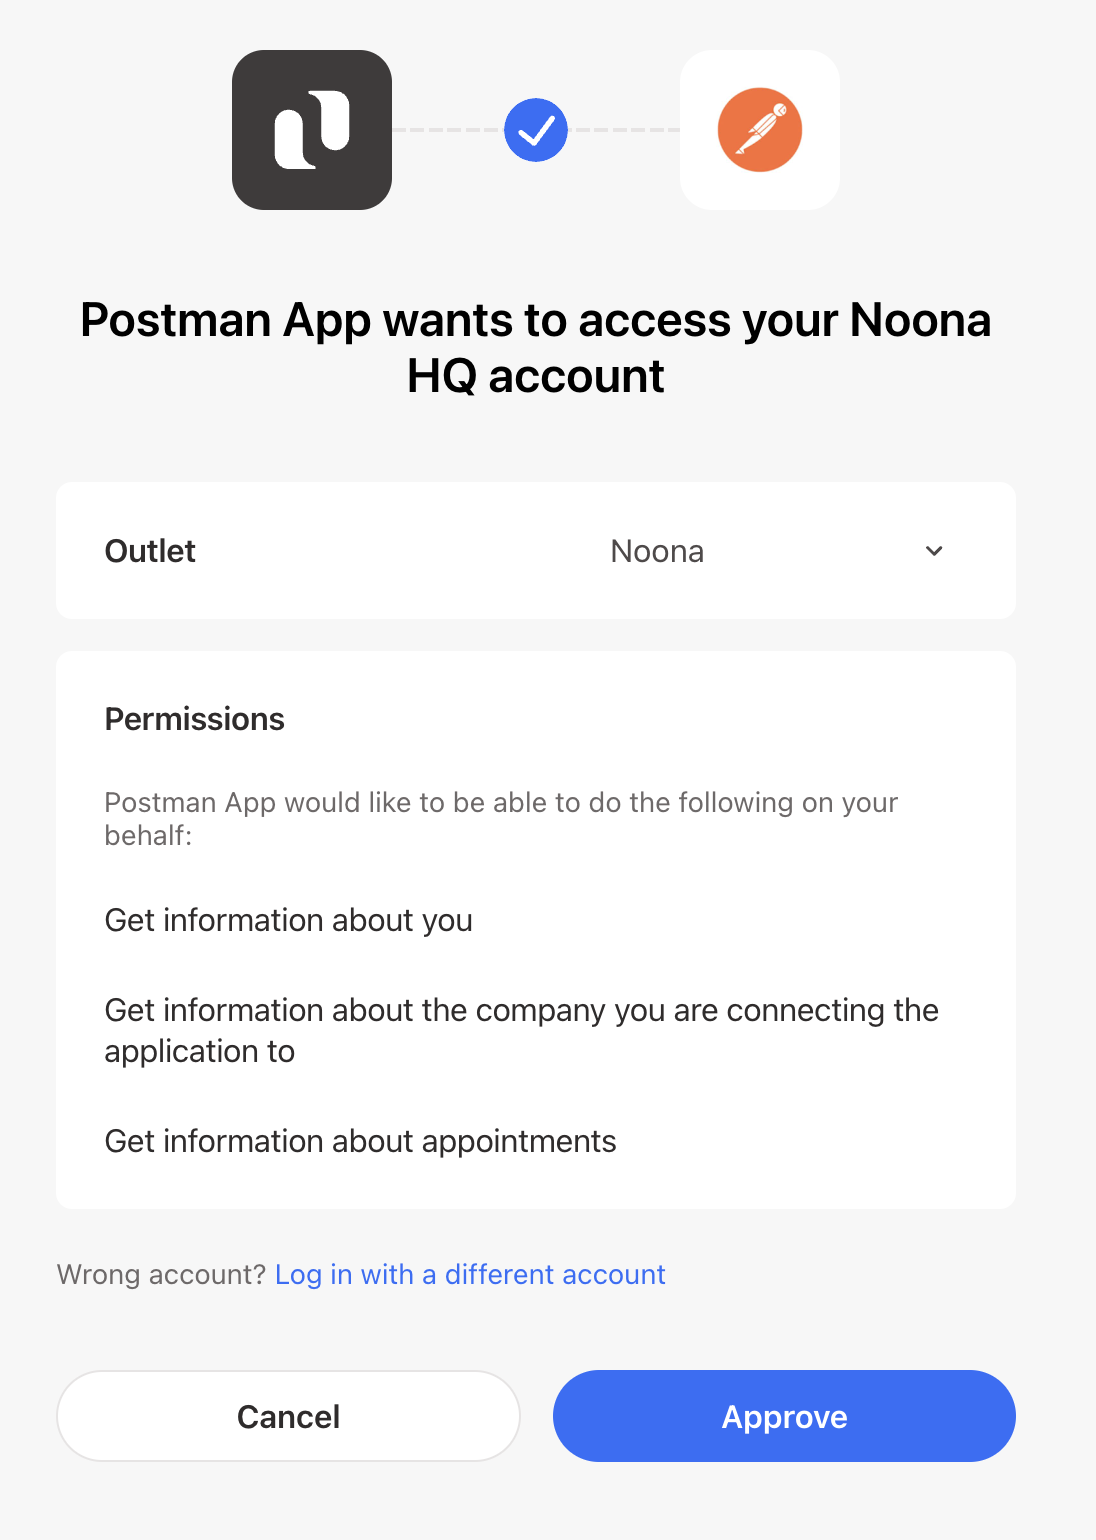
Click Approve and we are redirected to the redirect URI we specified earlier.
http://localhost:8080/?code=1C7FFloHq0dOVQh526MxUKM4q0YWGbPf&scope=user%3Aread&scope=companies%3Aread&scope=events%3AreadThe important part here is the code query parameter. We need to use the code in conjunction with our client secret to obtain credentials to access the API, often called the Code Exchange.
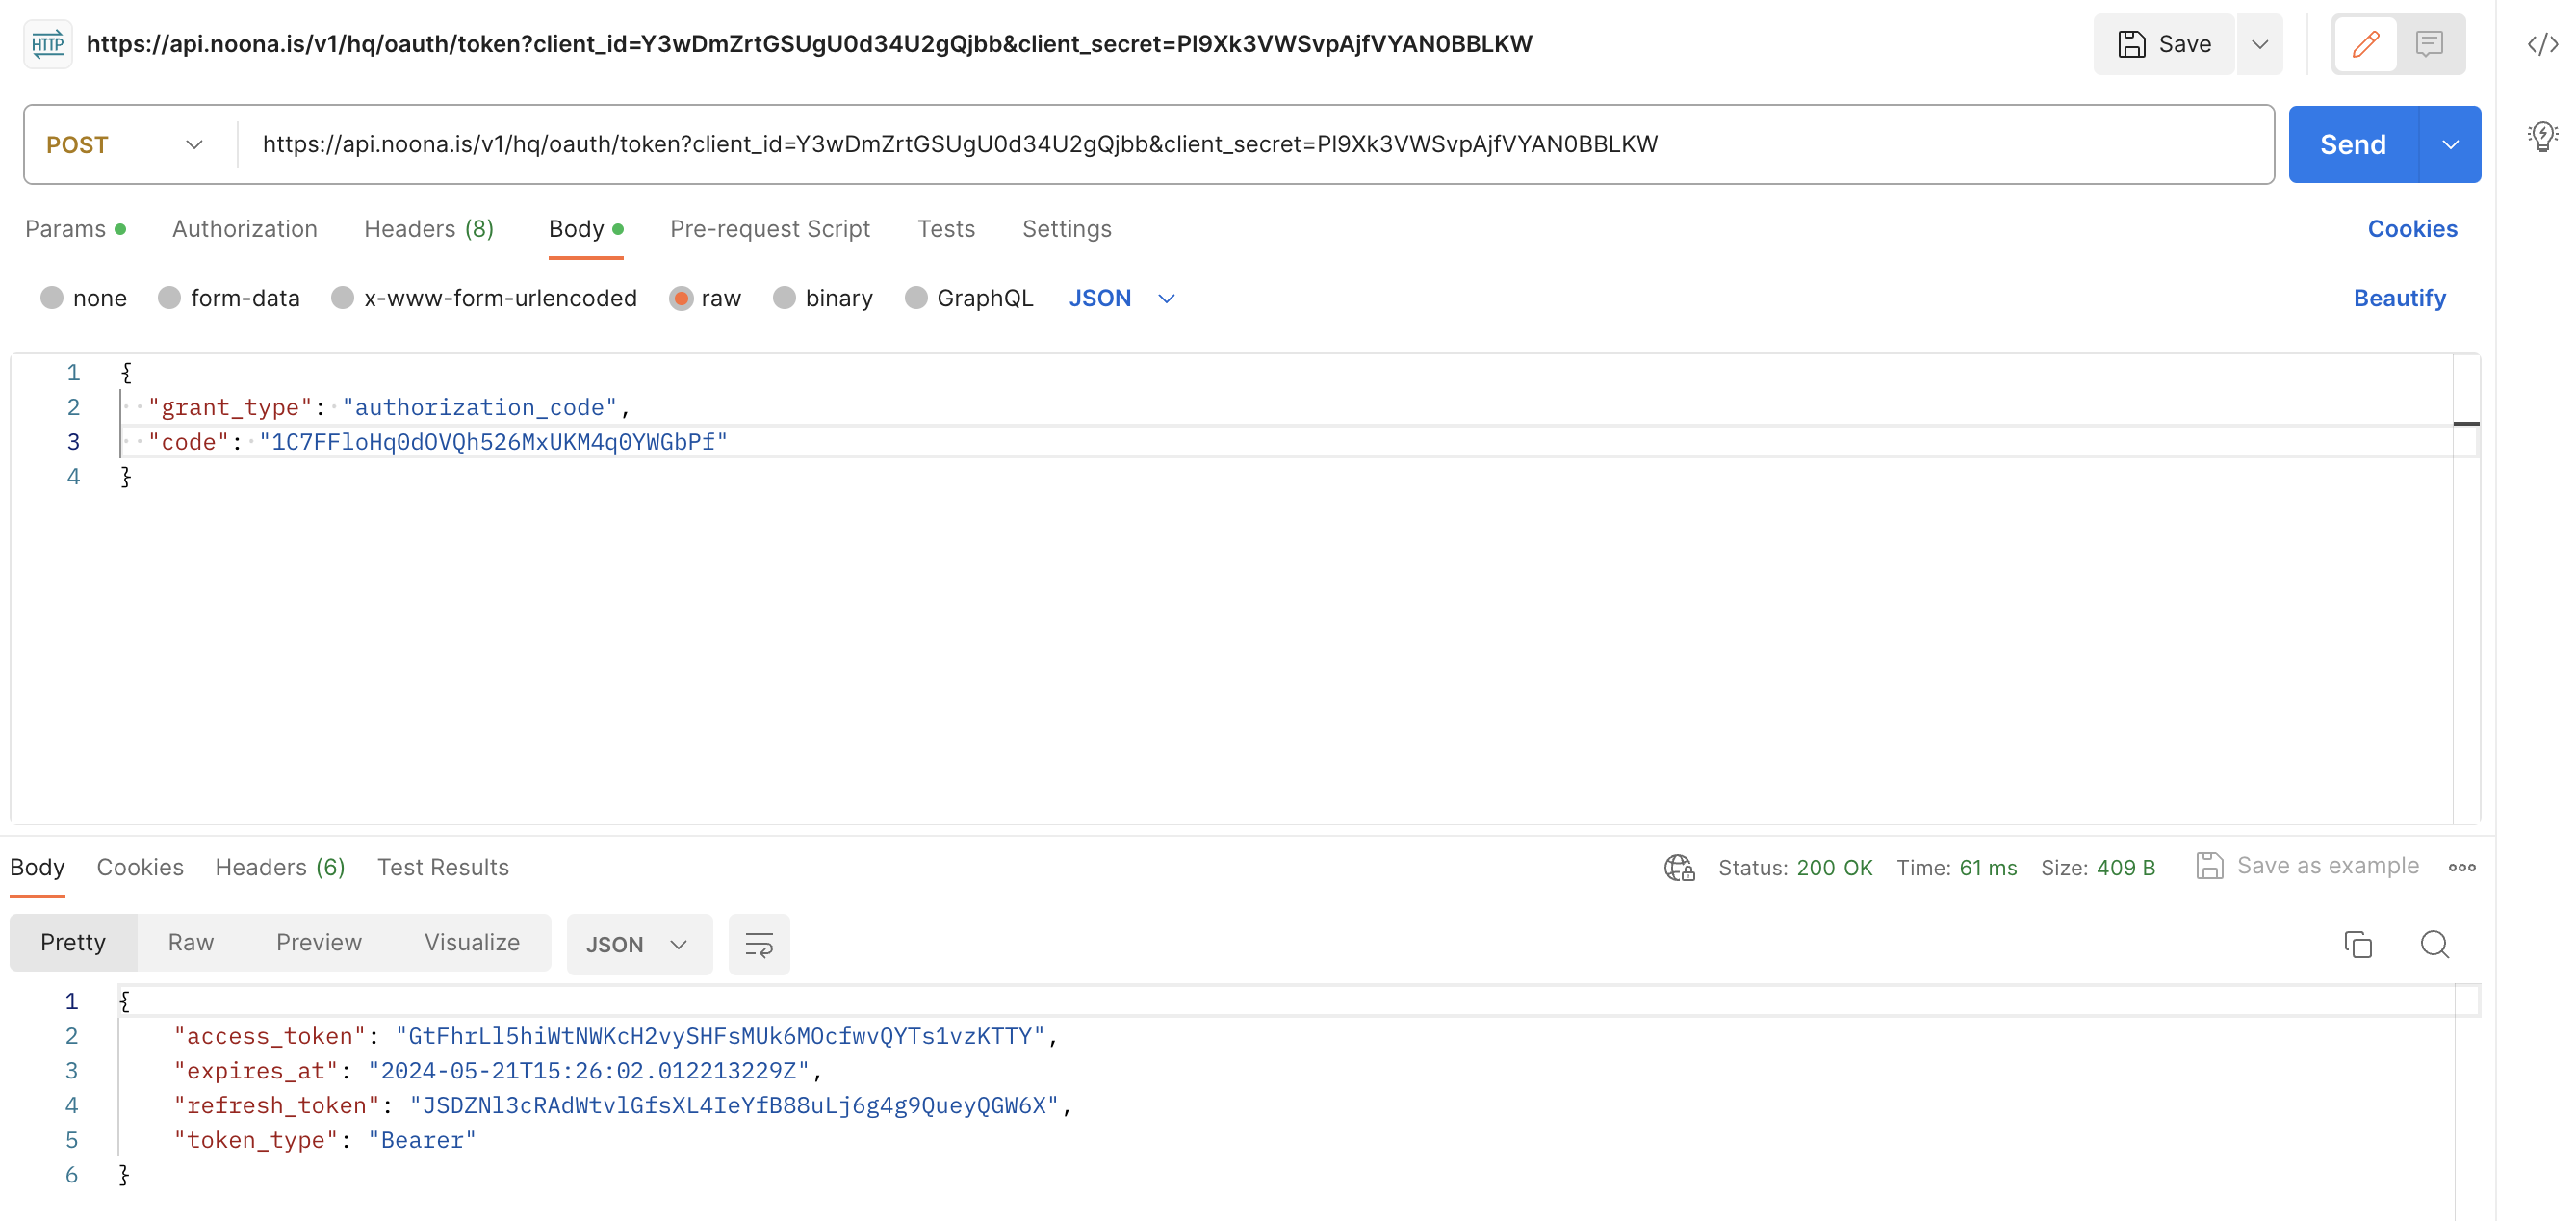
Perform the Code Exchange.
We provide our client_id and client_secret from above via query parameters and the code via request body. It is also required to specify the grant_type since we use this same endpoint to refresh our token later on, which uses a different grant_type.
4xx return
The code expires in 10 minutes, so if you think you're doing everything right but get a 4xx code from the API, go through the flow again and try with a new code.
The API returns credentials that we can use!
Perform an API request with the credentials.
Let's use the credentials we got to get more information about the user. We use the access_token to authenticate with the API.
Let's try querying the GetUser endpoint.
We simply provide the access_token as a bearer token (Authorization: Bearer token)
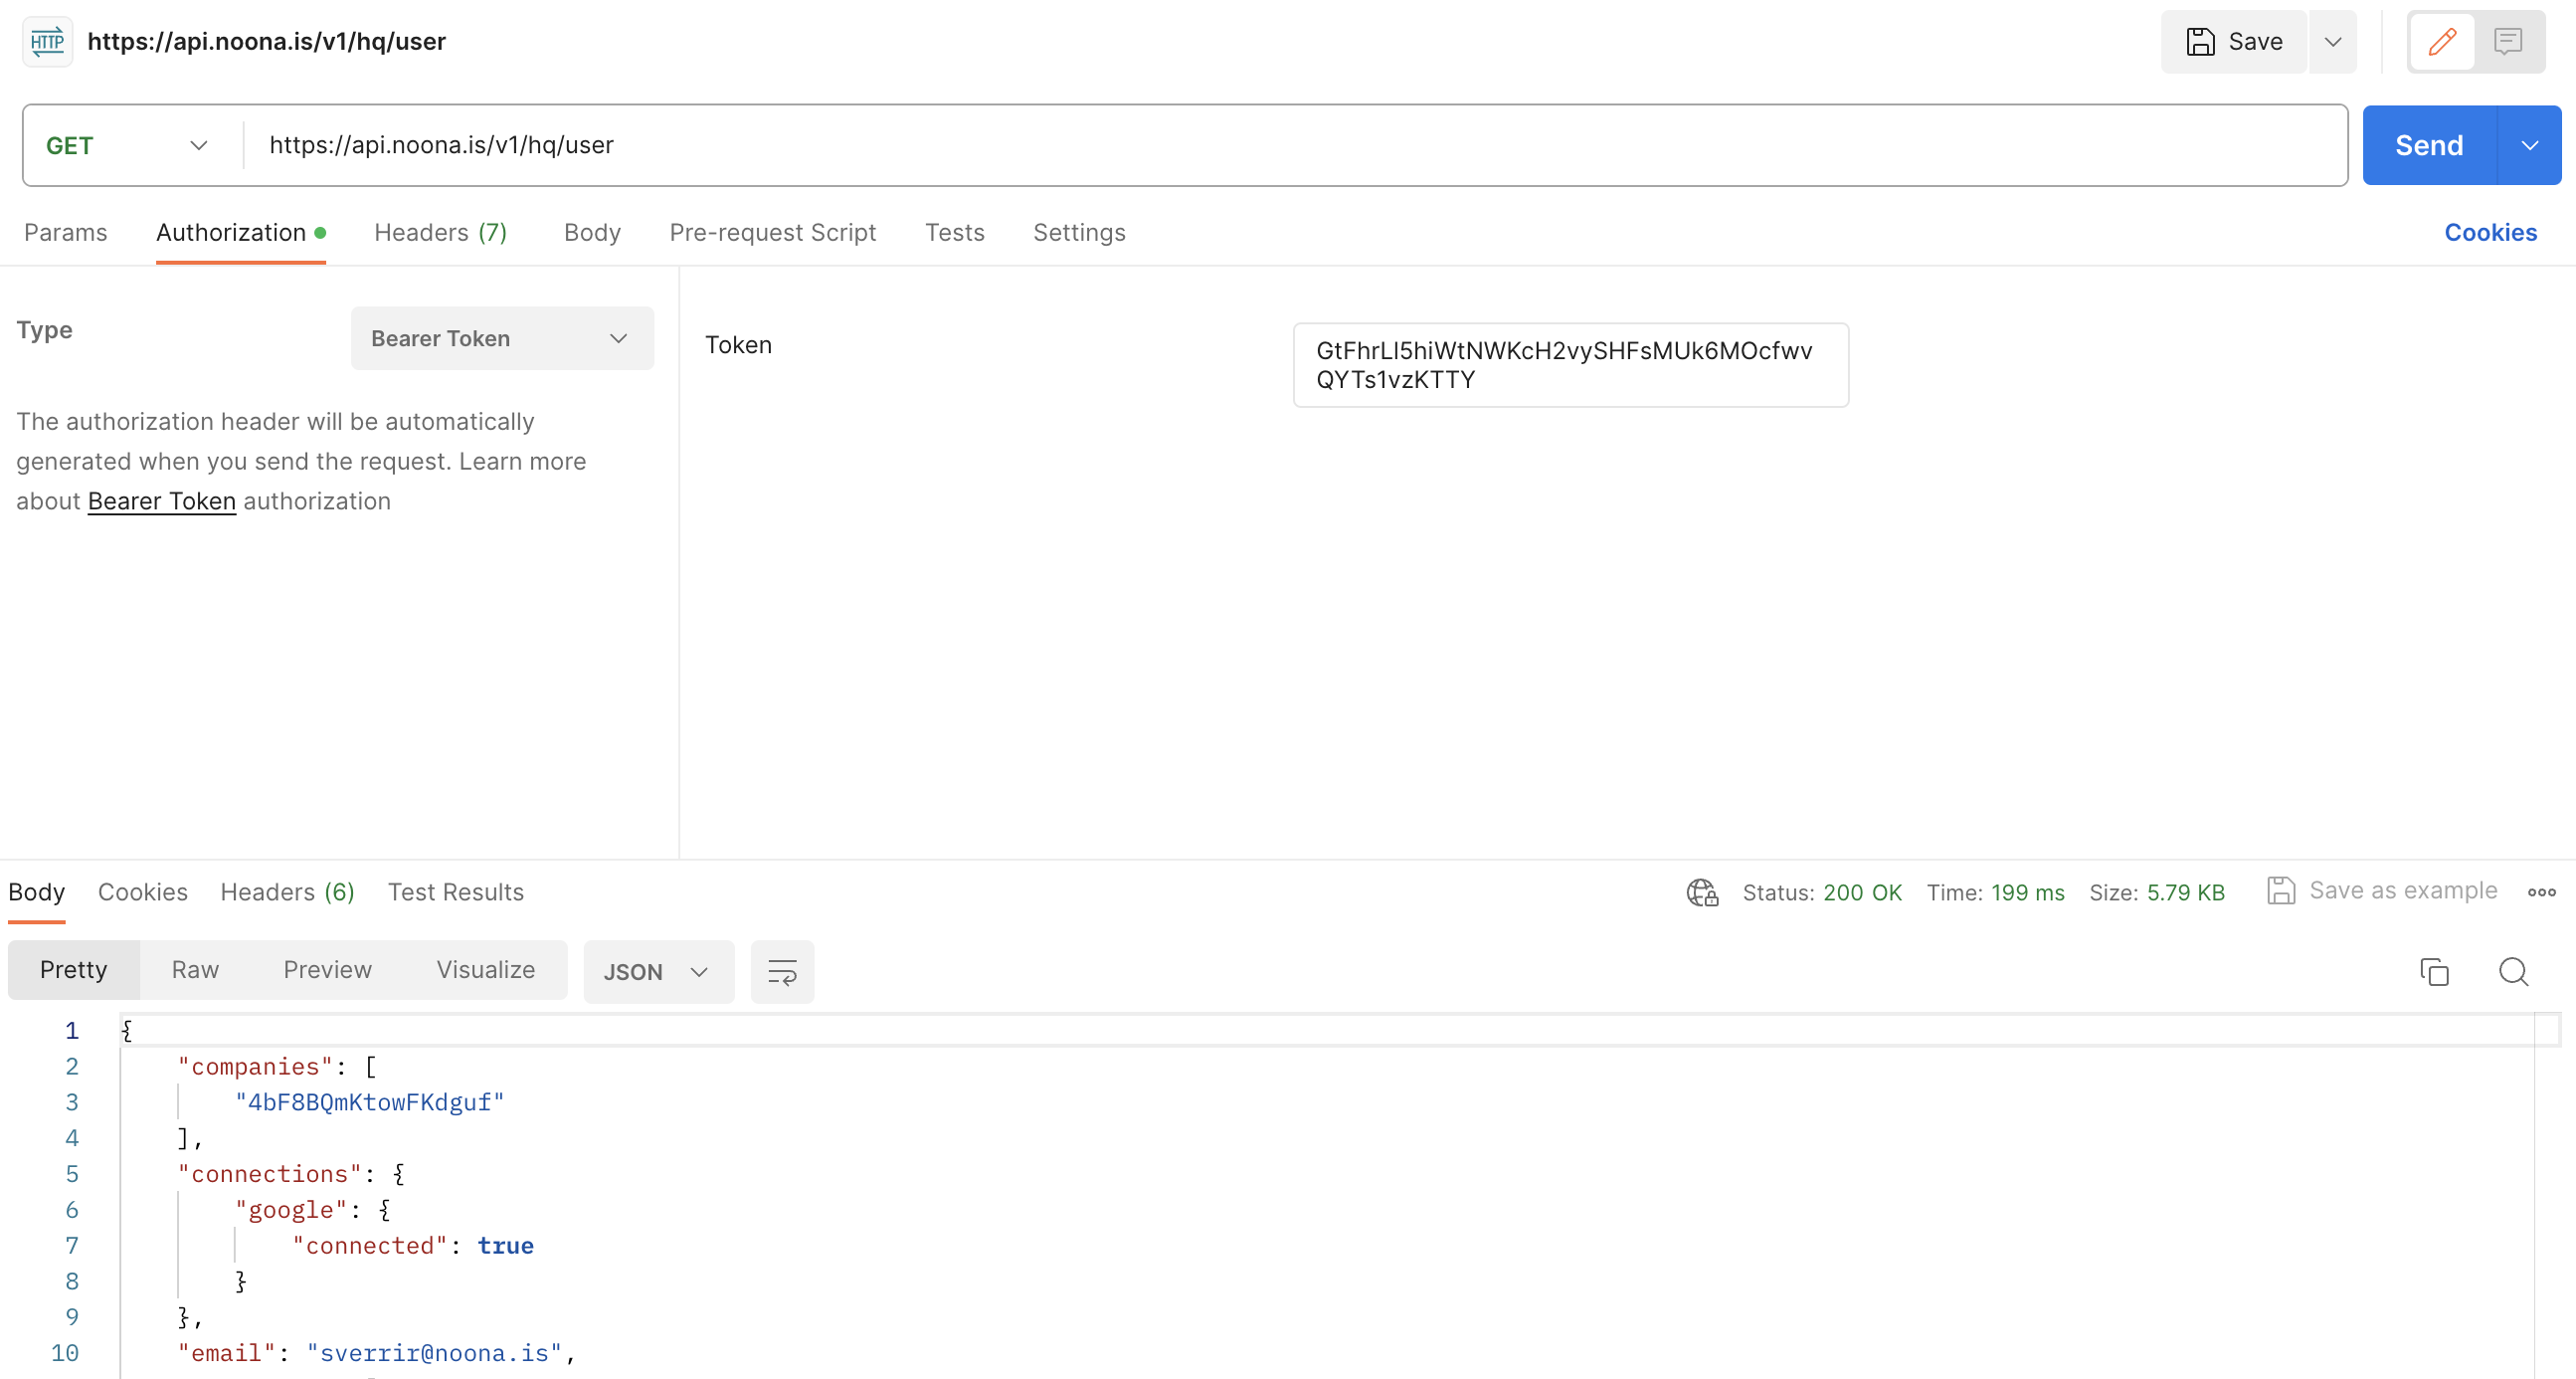
We were able to call this endpoint because one of the scopes we requested was user:read. All endpoints in the documentation specify which scope is needed.
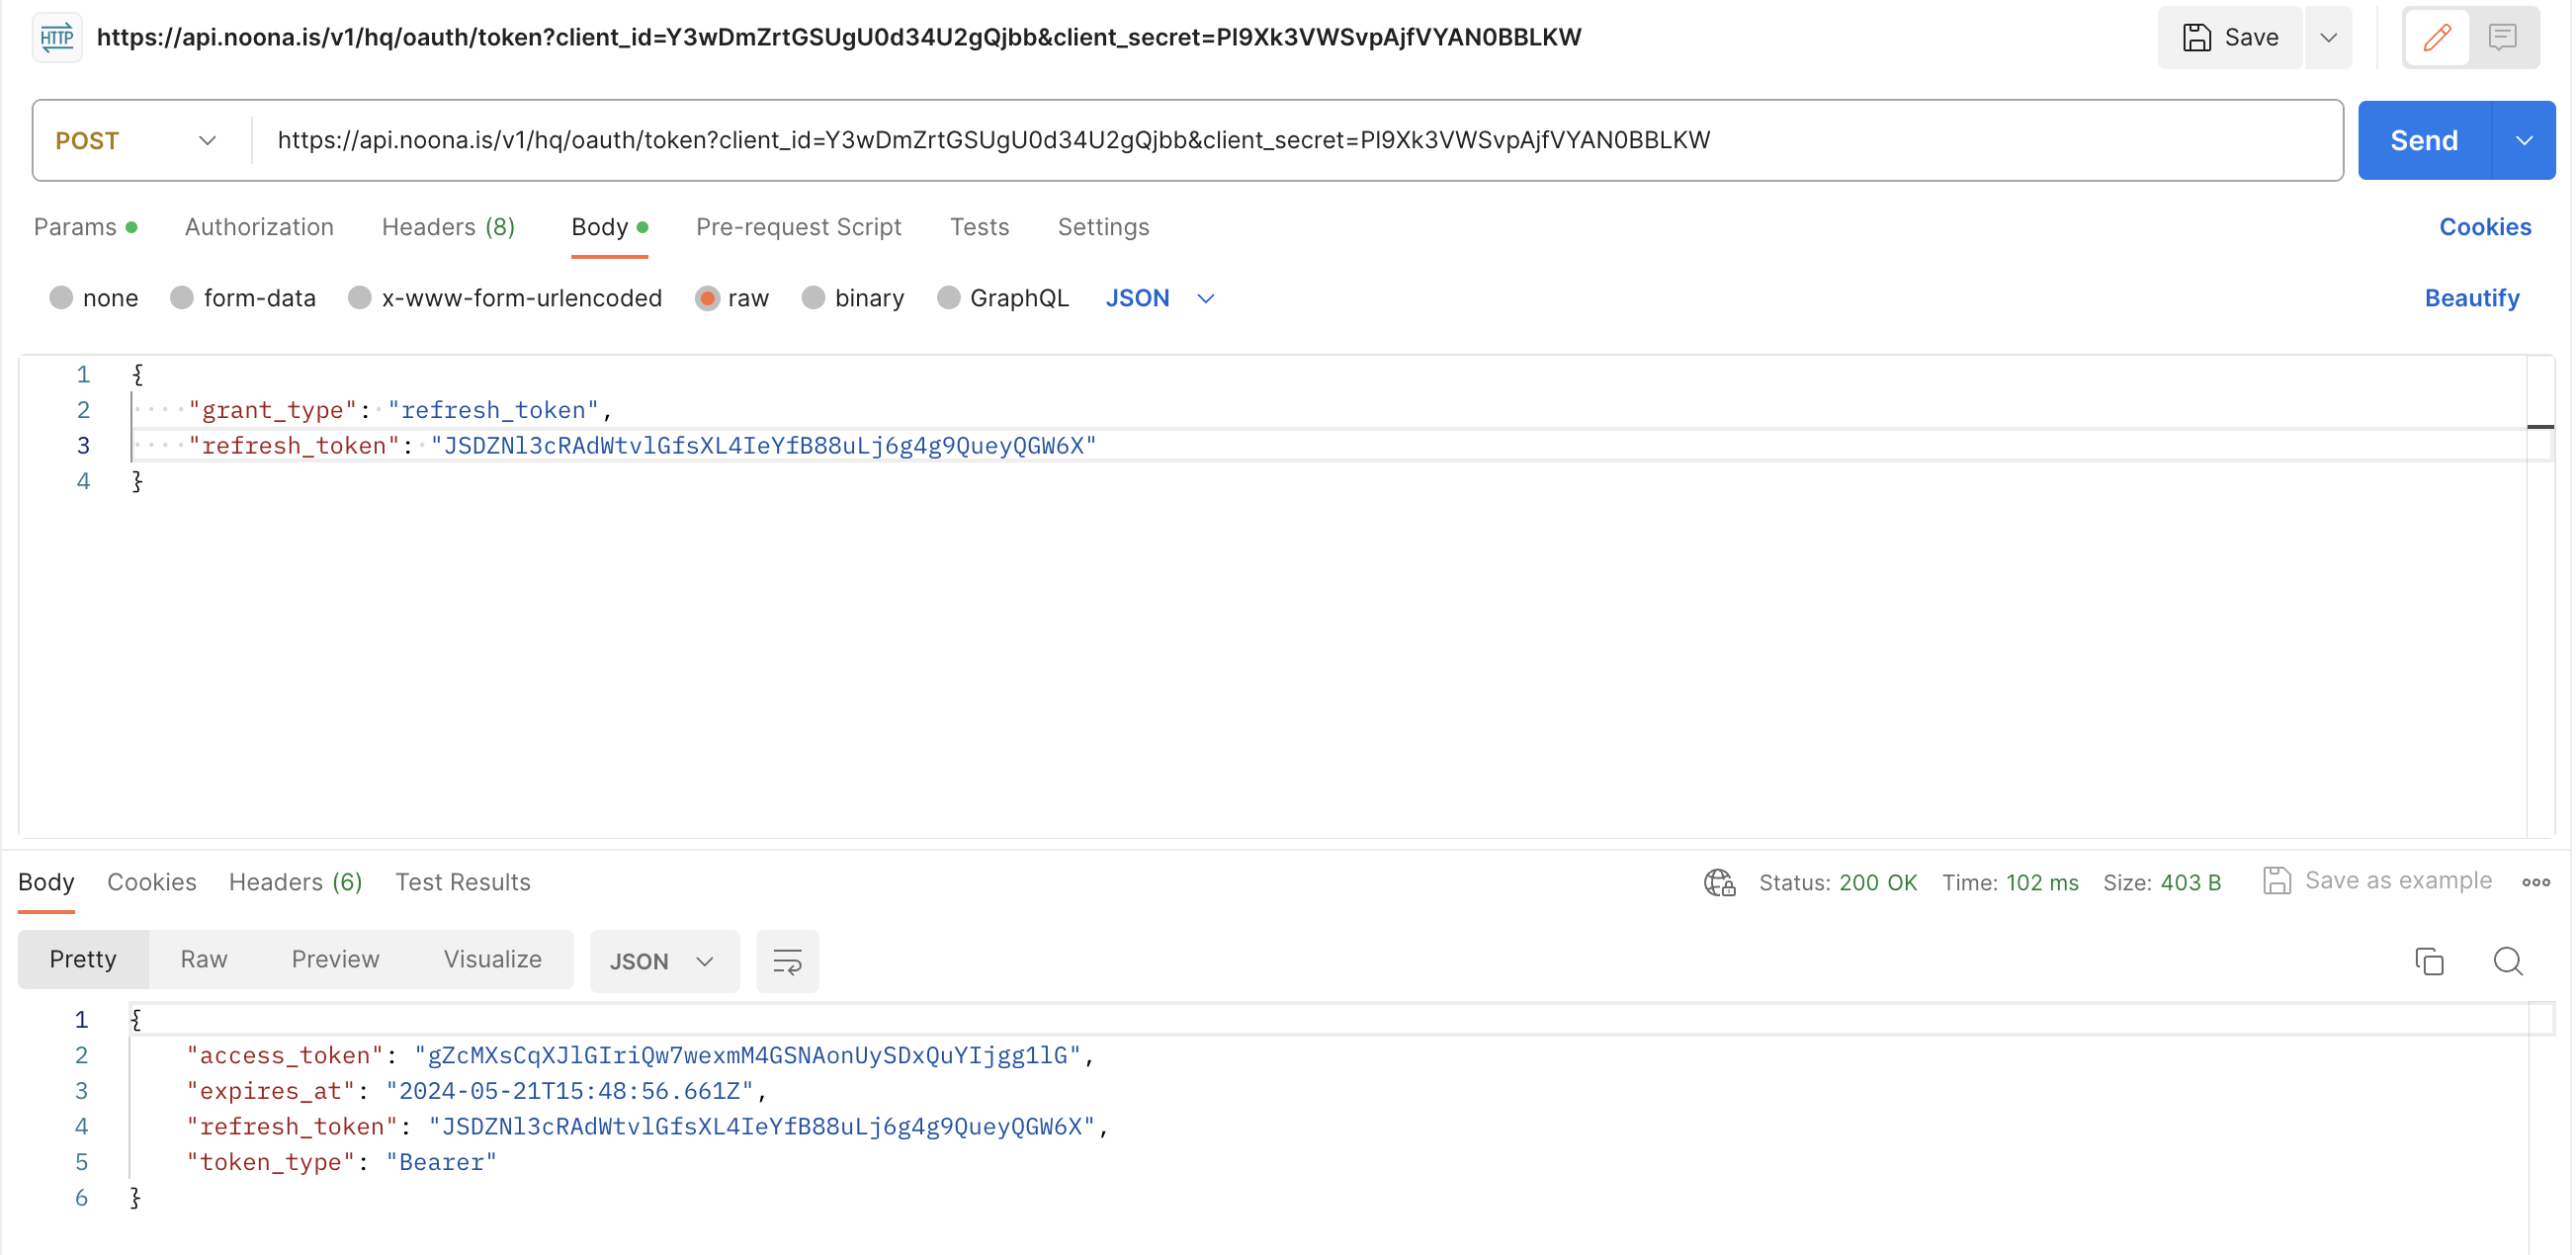
Refreshing the token.
As we saw in the token response there is an expiration on the access token: 60 minutes.
An expired access token does not work. In which case we must use the refresh_token to obtain a new access token.
Refreshing a token is very similar to the code exchange but we now provide our refresh_token and a different grant_type.
The refresh token never expires so guard it with your life - it will only stop working if the user uninstalls the app.
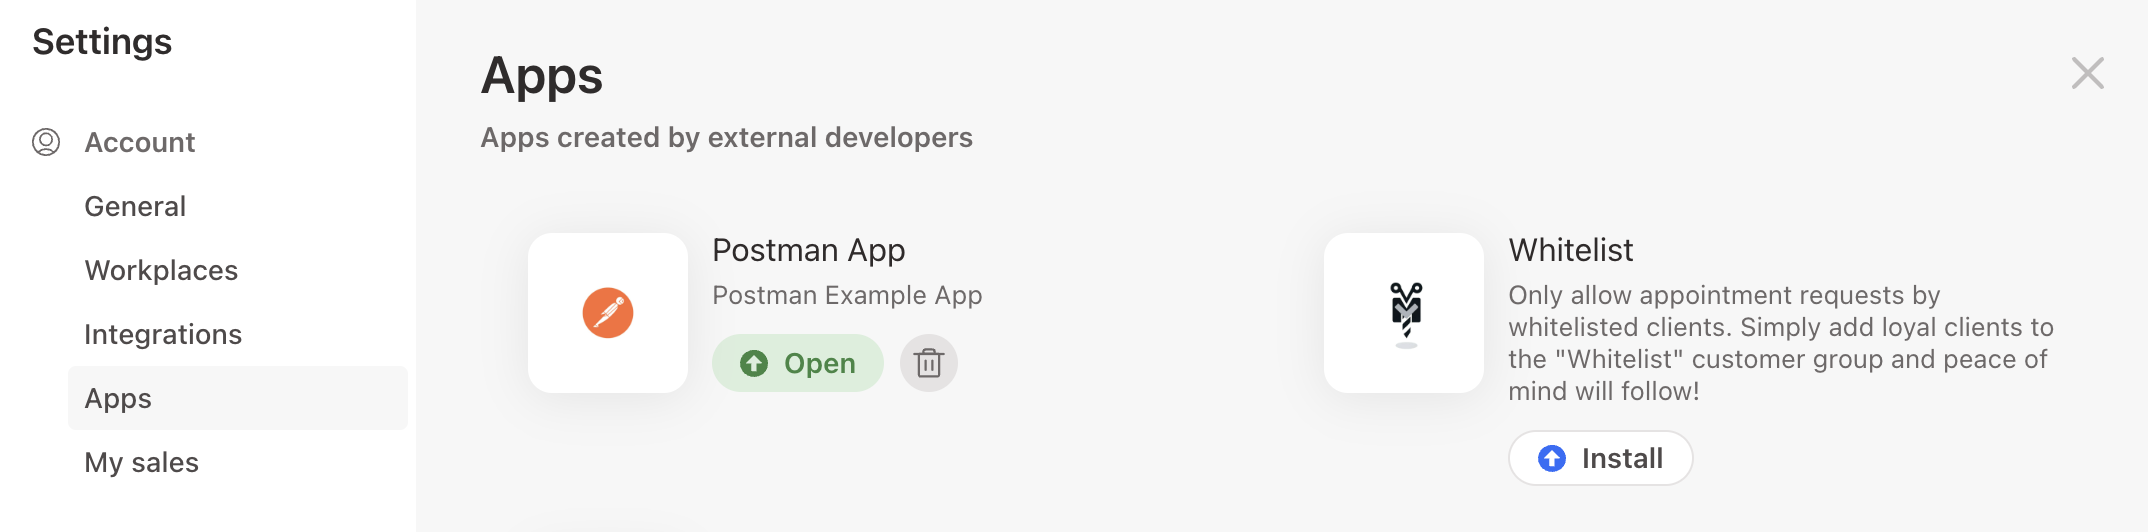
App is now installed.
When Noona detects a successful code exchange the app is marked as Installed in the app list.
Since the app has not been approved, we are the only ones that see it. This gives us peace and quiet to implement the functionality behind it and once we're done. We can submit it for review.
Upon successful review and approval. The app appears to every company on Noona and they can install it.
Open/Uninstall
An installed app is rendered differently in the app store. It has two distinct actions:
- Open - which allows the user to revisit the app landing page.
- Uninstall (Trash can) - which the user clicks to uninstall the app.
Clicking open redirects the user to the app with the following query parameters:
?id_token=<jwt>&action=open
Clicking uninstall simply performs a GET request towards the app behind the scenes (In addition to invalidating all tokens etc.):
?id_token=<jwt>&action=uninstall
This allows the app to support editing settings, showing contextual information or metrics during the open action and to clean up any local state during the uninstall action.
The app can authenticate the user from the JWT payload:
{
  "aud": "G7NN26z4kEuhUFx2cvzcplEb",
  "company_id": "POpTt0aDLVxRN1c63miyTB9W",
  "email": "svessi@svessi.is",
  "exp": 1710926605,
  "iat": 1710924805,
  "iss": "api.noona.is",
  "sub": "LLN5gKPpDFgxQfrhb"
}
- The app fetches the Noona public key (Endpoint | Documentation).
- The public key is used to verify the signature of the token.
- We verify that the token was issued for our app (client_id), that the token is not expired and that the token was indeed issued by Noona.
- Now that we can trust the token, we use the payload to load a user from our local DB.
For the open action the app can now create a seassion for this user and show settings, metrics, data or whatever is applicable.
For the uninstall action the app can cleanup any local state connected to this user.